Saving Seeds from Wildflowers: A Simple Guide to Next Year's Garden
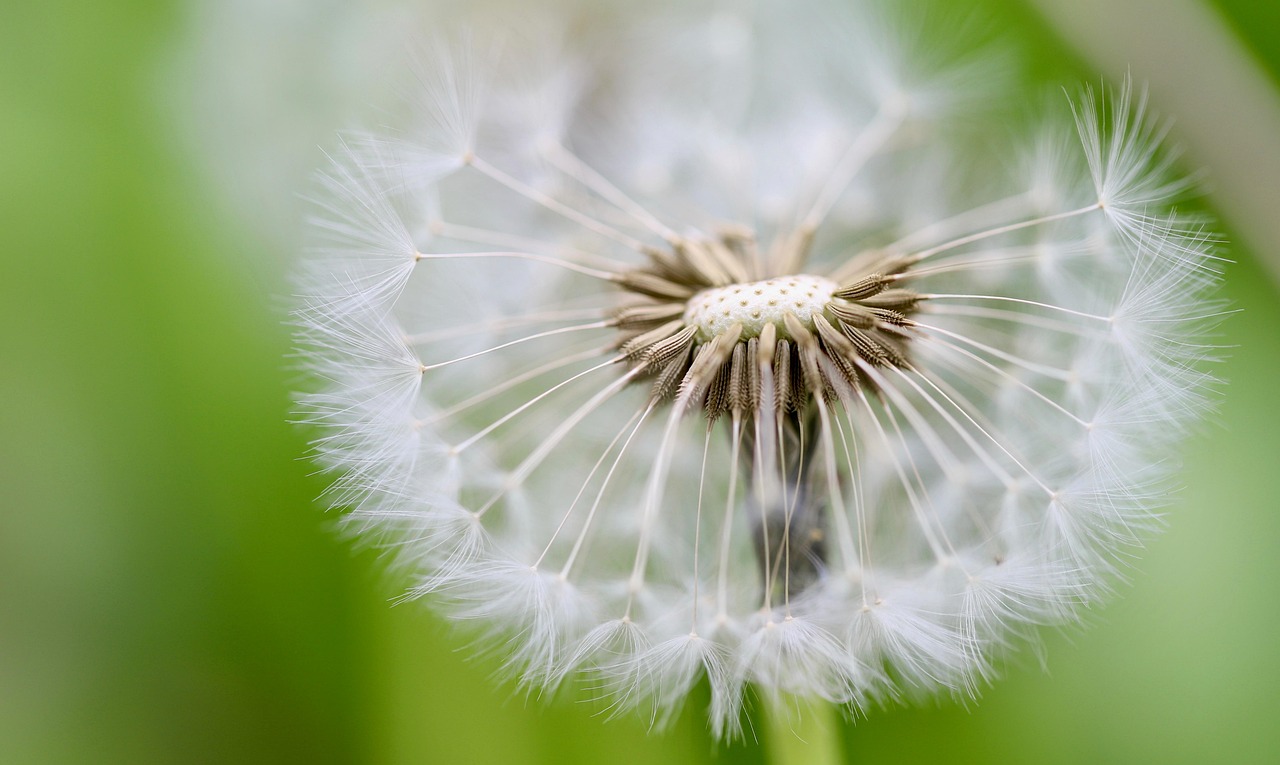
One of the most satisfying moments in a wildflower garden comes at the end of the season, when the flowers you grew are producing seeds you can save for next year. Saving seed costs almost nothing, deepens your relationship with your plants, and — when done with native species — helps preserve locally adapted genetics that are increasingly hard to find in commercial seed catalogs.
The basic principle is simple: let the seeds mature fully on the plant before collecting them, then store them dry and cool until planting time. The details vary by species, but the approach is the same for most wildflowers, and a few seasons of practice will teach you more than any guide.
Knowing When Seeds Are Ready
Timing is everything. Seeds picked too early are often immature and will not germinate. Seeds left too long may disperse before you get to them. The general rule is to wait until the seed head or pod has dried and begun to brown, but before it has fully opened and scattered. For plants in the aster family — coneflower, black-eyed Susan, blazing star — the seed heads turn dry and brittle, and the individual seeds loosen easily. For pod-forming plants like columbine or Baptisia, the pods turn brown and begin to split along a seam.
Check plants every few days as they approach maturity, since some species go from ready to dispersed in a matter of hours. A useful trick is to tie a small paper bag or a piece of fine mesh over a nearly ripe seed head. When the seeds release, they fall into the bag rather than onto the ground.
Collect on a dry day, ideally in the afternoon after any morning dew has evaporated. Moisture is the enemy of stored seed. Bring small paper envelopes or paper bags, a pair of scissors, and a permanent marker. Label each collection immediately with the plant name and the date — you will not remember later, and unidentified seed packets pile up quickly.
Cleaning, Storing, and Planting
Once home, spread your collections on a screen or a sheet of newspaper in a dry, well-ventilated spot out of direct sun. Let them dry for a week or two. Then separate the seeds from the chaff. For many wildflowers, gently rubbing the dried material between your fingers or shaking it in a bowl is enough. A simple set of kitchen sieves in different mesh sizes makes the job much easier.
Store cleaned seeds in paper envelopes or small glass jars in a cool, dark, dry place. A labeled envelope in a sealed container in the refrigerator works well for most species. Adding a small packet of silica gel helps absorb any residual moisture. Avoid plastic bags for long-term storage, since they can trap moisture and encourage mold.
Some native wildflowers need a period of cold, moist conditions — called stratification — before they will germinate. Species like milkweed, columbine, and many woodland plants fall into this category. The simplest approach is to sow them outdoors in fall or winter in a prepared bed or in labeled pots left outside, letting nature do the work. Alternatively, mix seeds with slightly damp sand or vermiculite in a sealed bag and refrigerate for the recommended period before sowing indoors.
Saving seed connects one growing season to the next. It also gives you more plants to share with neighbors and friends, which is how native plant gardening spreads — one seed packet at a time. Start with a few easy species this year, and let your collection grow along with your garden.